A day of self-maintenance can be expensive. By the time everything is said and done, you can’t even enjoy the outcome. Luckily there are ways to cut the cost of some maintenance jobs by completing those tasks at home. Starting with your lash bill. You could skip those appointments and master the art of DIY lashes from the comfort of your own home.
Mastering the Strip Lash Look
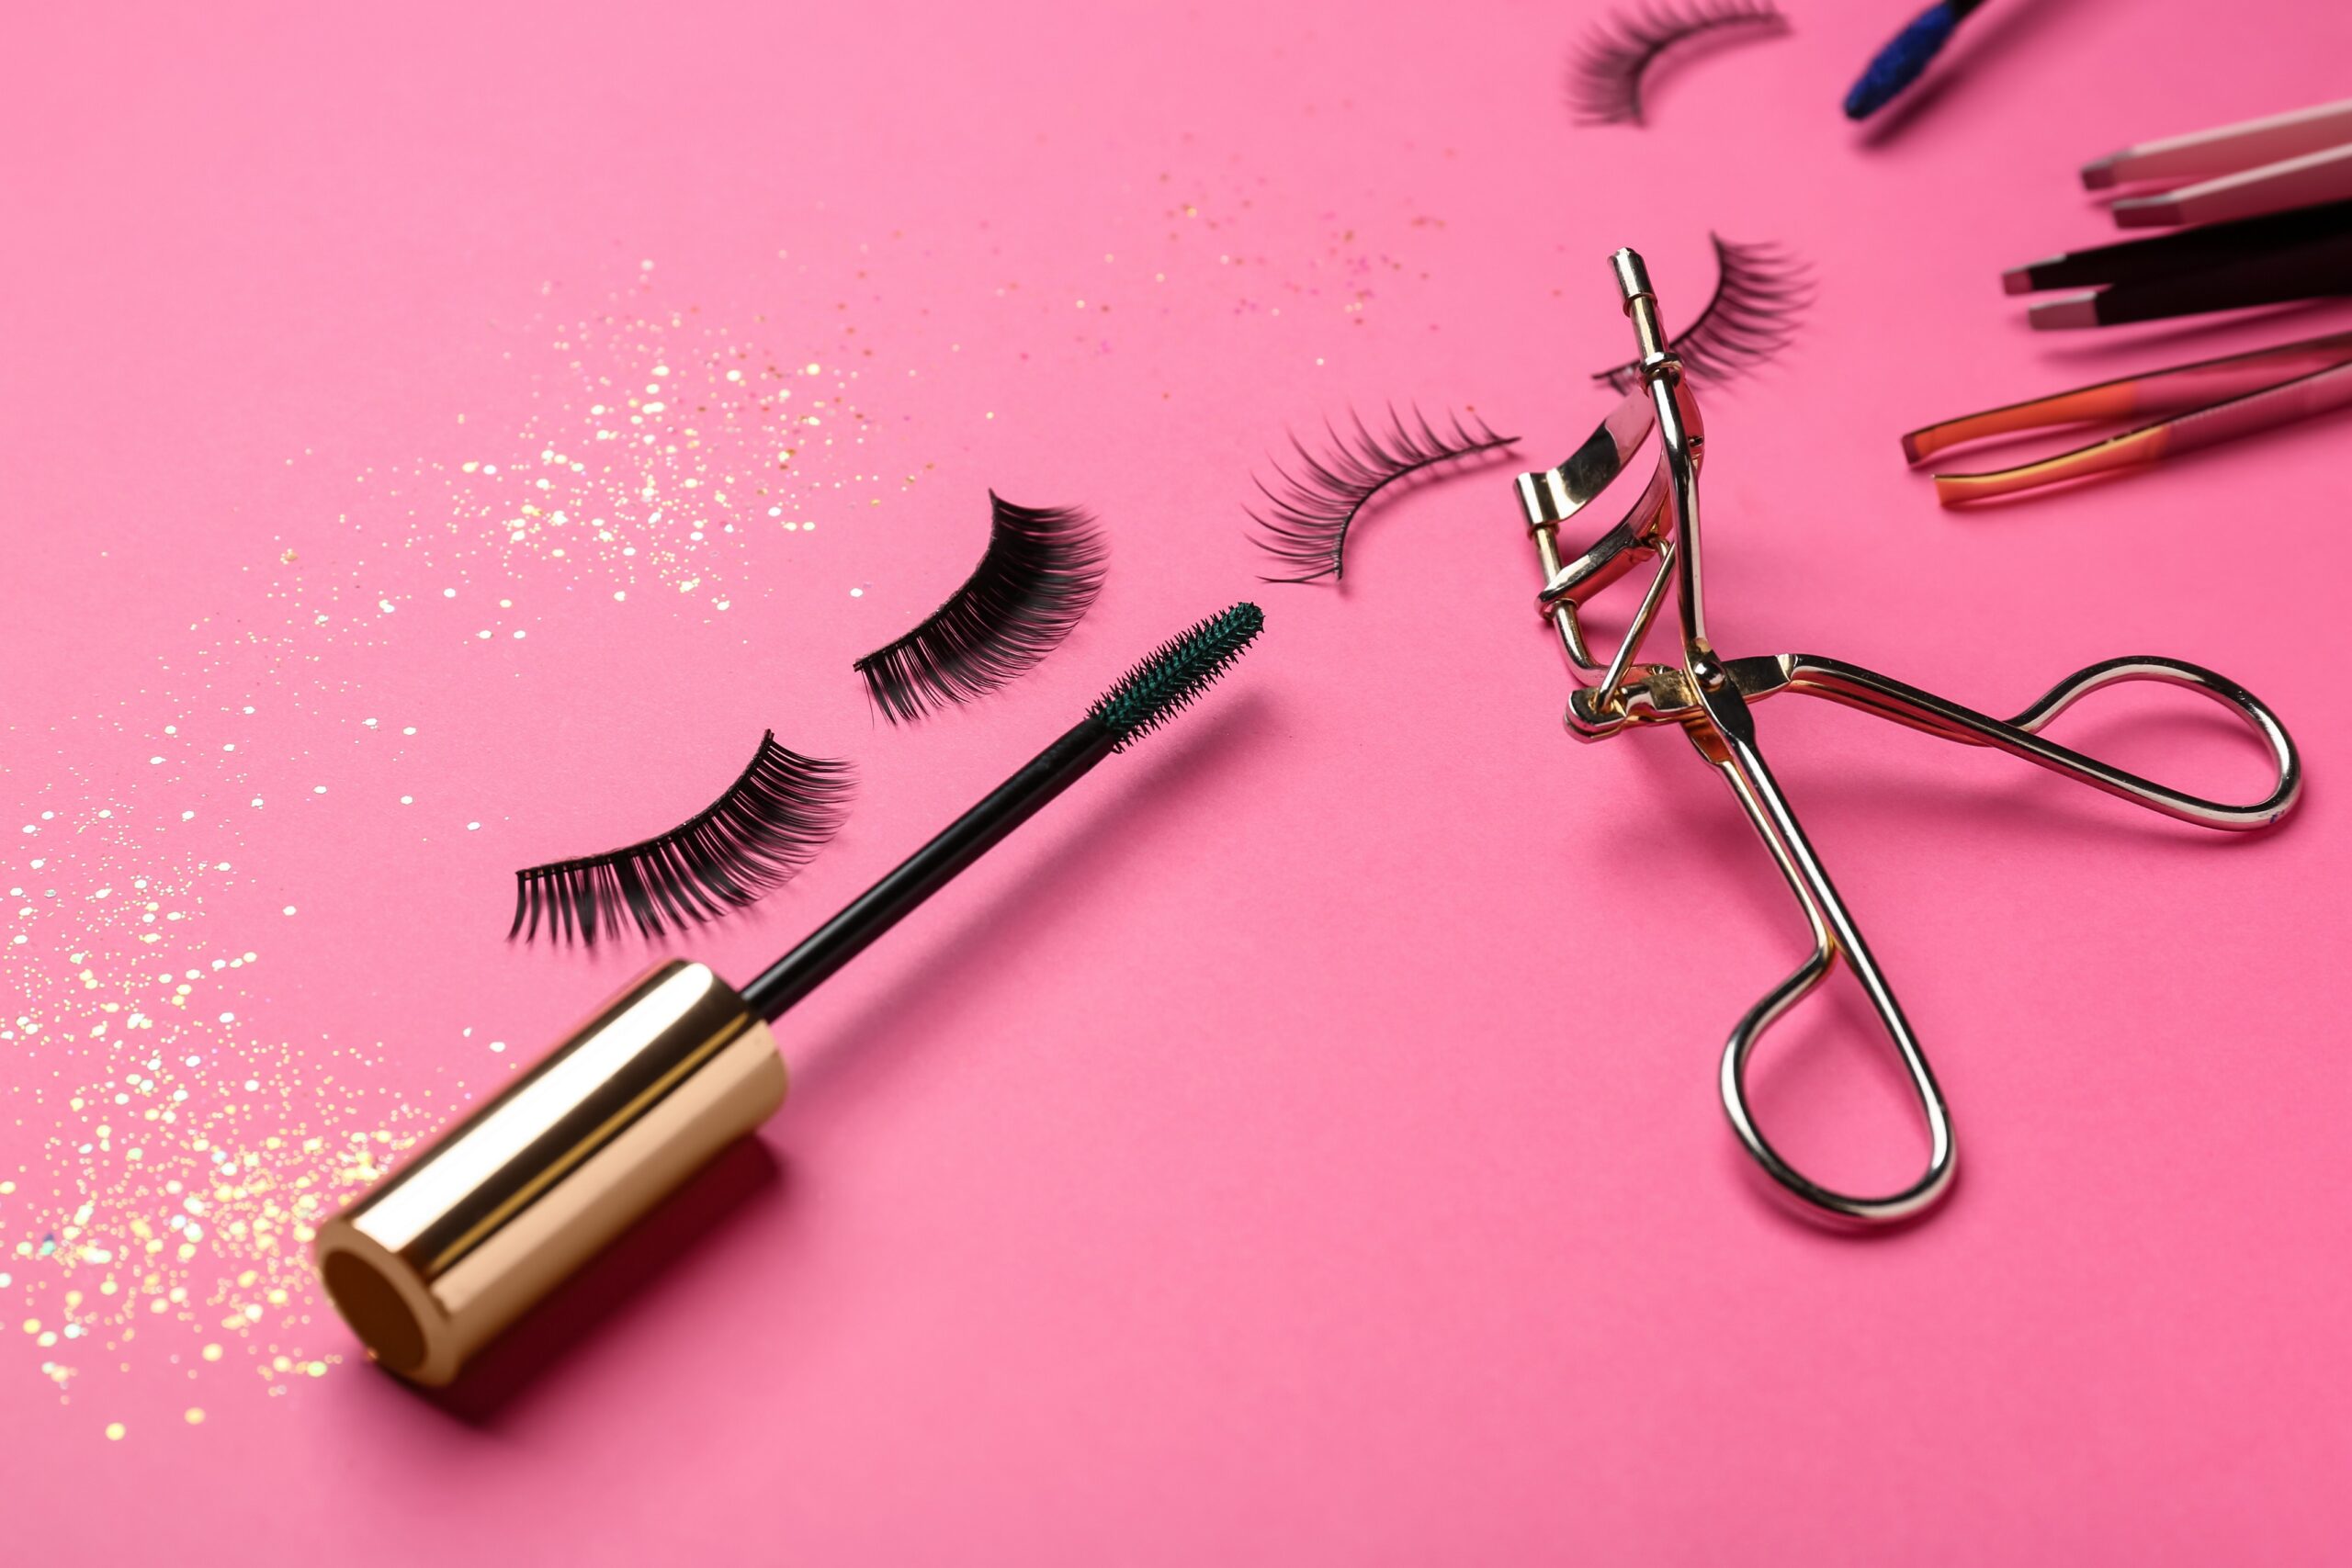
If you’ve ever envied the seamless, natural look of lash extensions but hesitated to commit to the time and expense, fear not! With the right techniques, you can achieve a similar effect using strip lashes.
Before diving into the application process, ensure your natural lashes are clean and free of any makeup or residue. This will provide a smooth canvas for your falsies and help them adhere better.
When it comes to choosing a lash, opt for strip lashes that mimic the texture and density of natural lashes. Look for styles with tapered ends and varying lengths to create a realistic, fluttery effect. Additionally, consider lashes specifically designed for Black women, as they often feature designs that complement your eye shape and enhance natural beauty.
Trim your lashes to fit your eye shape perfectly. Measure them against your lash line and trim from the outer edge as needed. This step ensures a comfortable fit and prevents any discomfort or irritation throughout the day.
Begin by applying a thin layer of lash glue along the band of the falsies. Allow the glue to become tacky for a few seconds before carefully placing the lashes as close to your natural lash line as possible. Use tweezers or a lash applicator for precision and gently press down to secure them in place.
Once the lashes are in place, use a clean spoolie brush to comb through your natural lashes and the falsies. This helps blend them seamlessly and removes any clumps or excess glue. Finish with a coat of mascara to further blend the lashes and set them in place for long-lasting wear.
Achieving Individual Lash Extensions at Home
For those seeking a more customized and long-lasting lash solution, individual lash extensions offer unparalleled versatility and sophistication. While traditionally a salon service, with a steady hand and a bit of practice, you can achieve salon-worthy results in the comfort of your own home.
You’ll need individual lash clusters, lash adhesive, tweezers, and a mirror. Opt for high-quality products to ensure a seamless application and comfortable wear.
Set up a well-lit area with a steady surface to work on. Ensure you have everything within reach to avoid any interruptions during the application process.
Using tweezers, carefully isolate a single natural lash. Dip the base of an individual lash cluster into the adhesive and place it directly onto the isolated lash, as close to the root as possible. Repeat this process, working from the outer corner of your eye towards the inner corner, ensuring even spacing and distribution.
As you work across your lash line, aim for a consistent length and density to achieve a natural-looking result. Pay attention to the direction and angle of each lash cluster to ensure they blend seamlessly with your natural lashes.
Once all the lashes are applied, gently press down on the extensions to ensure they’re securely bonded. Allow the adhesive to dry completely before touching or manipulating your lashes.
Lash Extension Maintenance and Removal
To prolong the lifespan of your DIY lash extensions, avoid rubbing or pulling on them and refrain from using oil-based makeup removers. When it’s time to remove them, use a gentle, oil-free remover to dissolve the adhesive, taking care not to tug or damage your natural lashes in the process.
With these tips and tricks, you can bid farewell to your regular trips to the lash technician and embrace the freedom and creativity of DIY lashes. Mastering the art of DIY lashes is sure to elevate your beauty routine and leave you feeling fabulous, effortlessly.